With the price of this daily staple continuously on the rise, now’s a good time to get into baking mode. Three bakers share tips to get you cracking

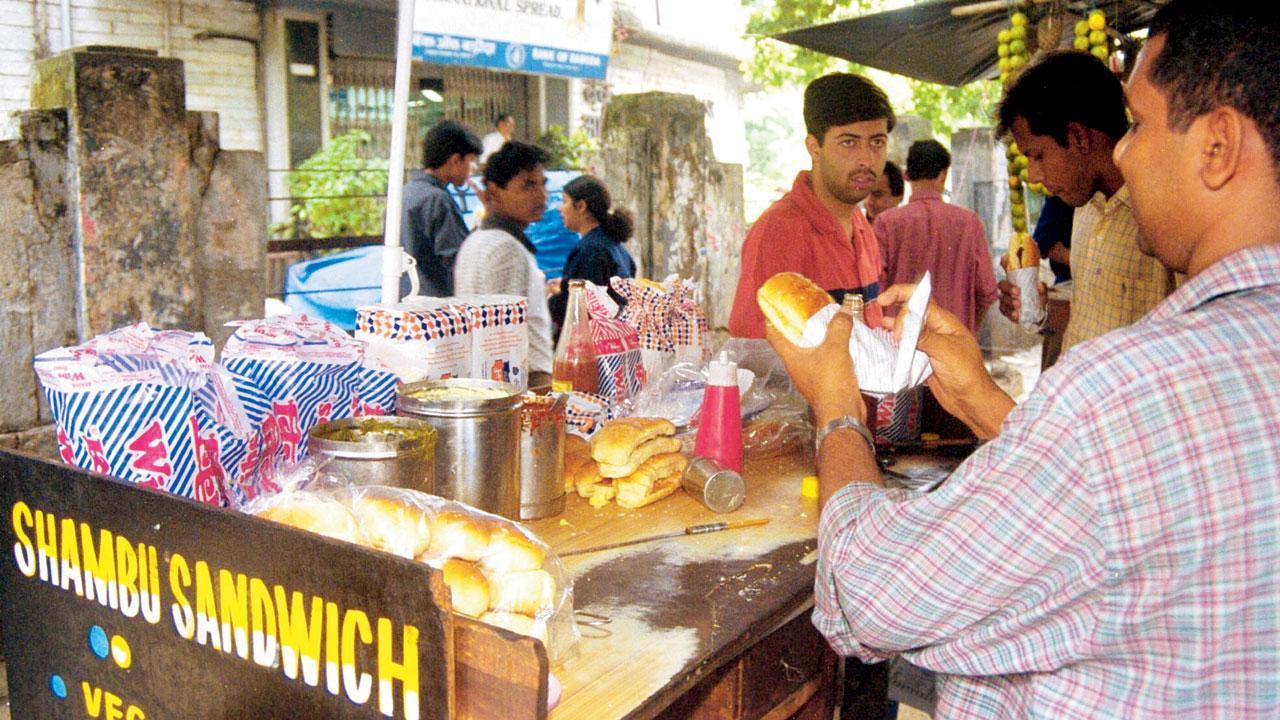
Major bread brands, popular in households and shops such as this sandwich thela in Churchgate, have hiked prices
Riding high on the inflated costs of raw materials and transportation, the price of bread has shot up by Rs 5 to Rs 10 in the past few months. For Mumbaikars, who hold their pao and sliced bread dear, this amounts to a substantial pocket pinch. If you did not master the art of sourdough in the lockdown, this might be a good time to start learning how to bake your own bread. It can feel daunting and laborious, but three city-based bakers let us in on tricks to get a simple, no-fuss loaf without trying too hard.
ADVERTISEMENT
Proof of the baking
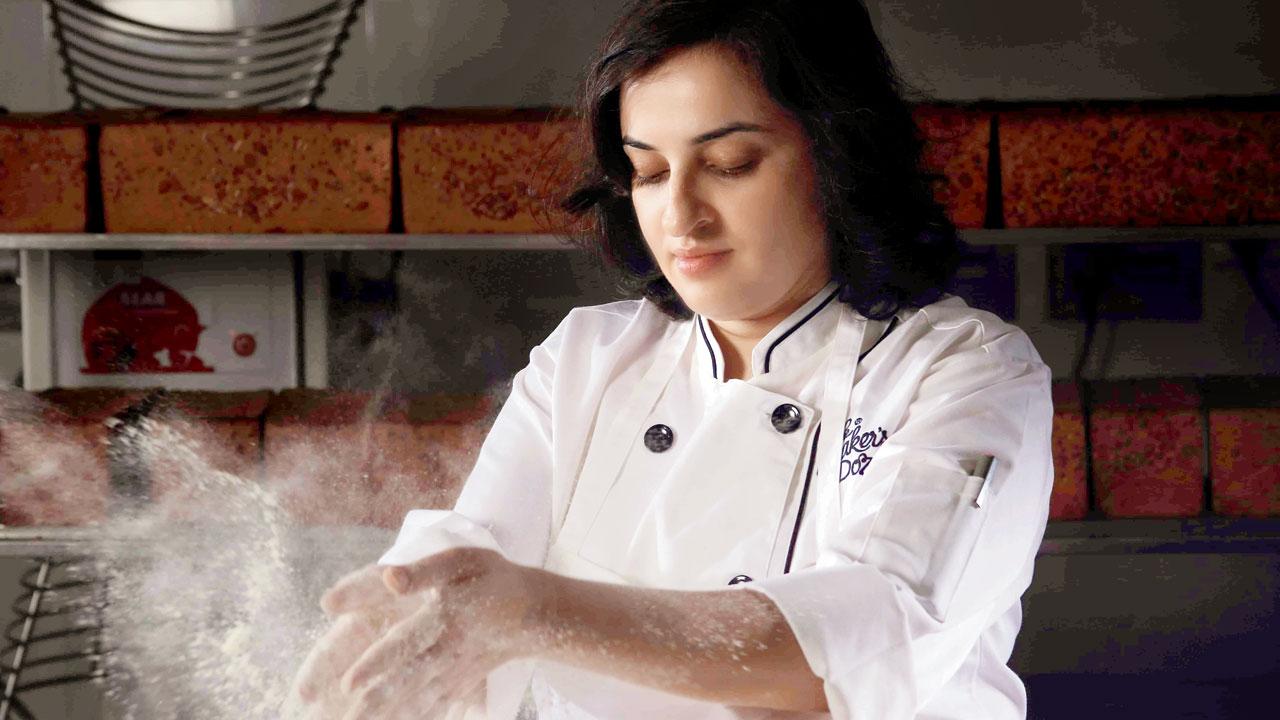
Aditi Handa, co-founder and head chef, The Baker’s Dozen, explains that homemade bread is far more nutritious than store-bought varieties. “At home, we can incorporate ingredients such as sunflower seeds, sesame seeds, ragi flour and more. There is a huge list of additives and preservatives in store-bought breads. But at home, we can bake preservative-free, fresh bread,” she explains.

1 Proofing time varies according to the recipe and the temperature of the room, but one to one-and-a-half hours is typical. Don’t over-proof; the dough will sink back. Soda bread doesn’t need to rise; it’s the best option if you’re in a hurry.
2 The quality of flour can make a real difference. Extra-strong or Canadian flours, which are higher in gluten, may give you a better rise than standard bread flours.
3 Measure carefully. Small differences in the amount of water, yeast or salt can make a big impact. Too much heat will kill the yeast, so don’t proof it in a very hot place, and use water that is warm rather than hot.
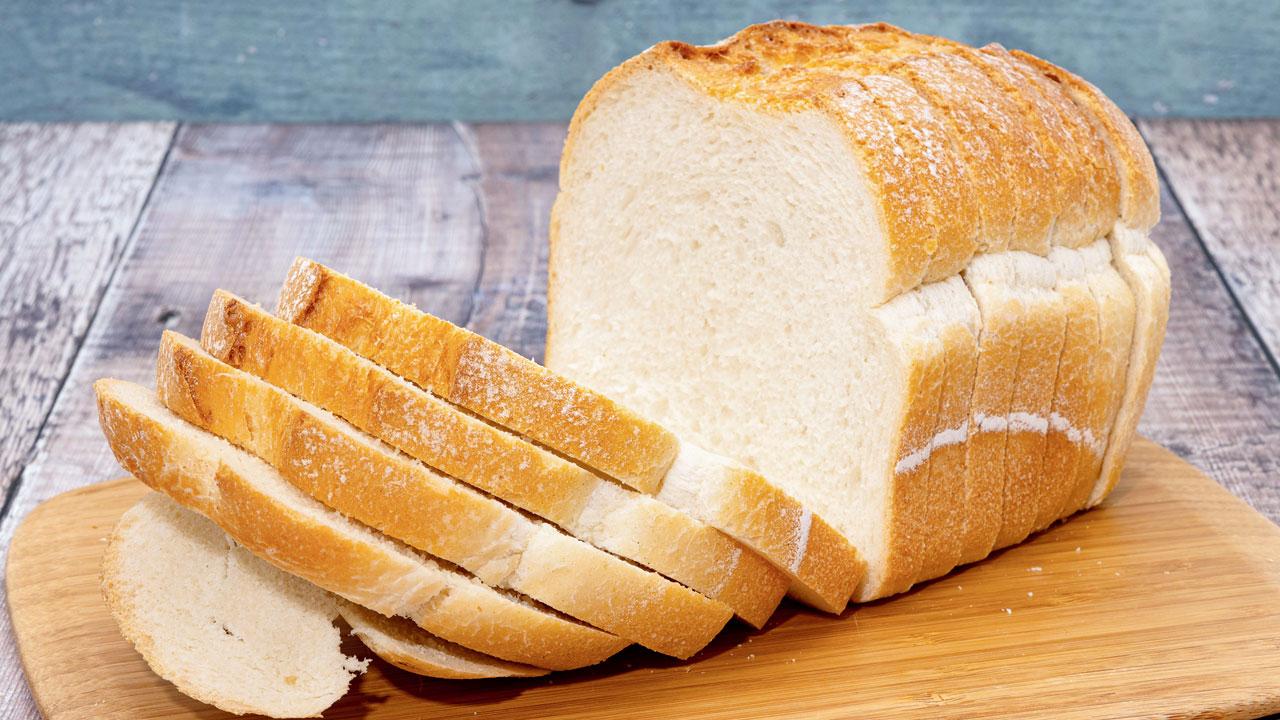
No-knead white sandwich bread
Chef Rachi Gupta, founder and baker, The Bread Bar, believes that bread is a labour of love. “But sometimes, you don’t want to spend 10 minutes kneading. My go-to is the no-knead focaccia or a simple white bread. It’s great for toasting and making sandwiches.”

Ingredients
>> 400 g all-purpose flour
>> 10 g instant dry yeast
>> 1 tbsp sugar
>> 1 tsp salt
>> 300 ml warm water

Method
In a large bowl, combine the first ingredients. Add warm water and mix to form a soft dough. Cover the dough and leave it in a warm area for 45 to 60 minutes, until it has doubled in size. Turn it out onto a well-floured surface and form a rectangular shape. Place the shaped dough into a greased loaf pan. Leave in a warm area, until the dough has almost risen to the top of the pan. This should take around 30 minutes. Now, place the loaf pan in a pre-heated oven of 392°F or 200°C for 20 to 25 minutes, until the crust has browned and the bread sounds hollow when tapped. Slicing warm bread, while tempting, affects its texture and flavour. Allow the loaf to cool completely before storing or slicing.
Loave for flavours
Bread baked at home is not just healthy, it also tastes better, believes home baker Kay Kelly D’lyma, who runs @the_treat_truck. “Home-baked loaves have a cleaner taste because there are no preservatives,” she explains, reminding beginners to not start with sourdough, and instead practise with regular bread first.

1 Start with a fast active yeast that’s easier to work with. Add salt towards the end or you can skip it too, as it kills the yeast.
2 Use all ingredients at room temperature. You can knead with your hands, but it can put off beginners because bread requires a whole lot of kneading. A stand mixer with a dough hook makes the process easier and faster. You’ll know when the dough is ready by the windowpane test. Pinch a piece of dough off; stretch it between your fingers. If you can see through the dough without it breaking, then you’re ready to go.

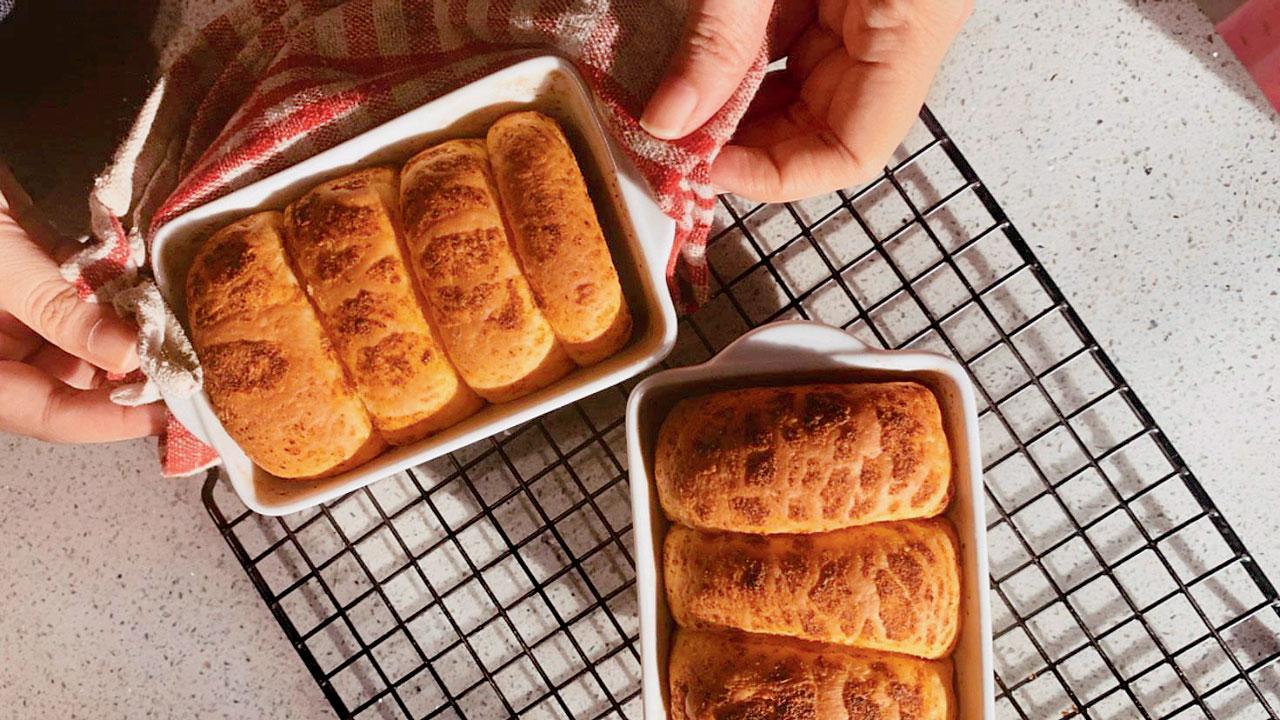
Sambar bread by Kay Kelly D’lyma
3 There are some easy everyday flavourings that you can add. For instance, caramelised onions that you can cool down and incorporate into the dough using the pinch-and-fold technique. Or mix sambar and ghee to a pouring consistency and dip the dough in it before proofing; it lends a slightly spicy flavour and aroma. You can also roll out the dough, put as much green chutney as you want on the inside along with cheese, cut strips and roll the dough out for cheese and chutney rolls.
 Subscribe today by clicking the link and stay updated with the latest news!" Click here!


